fbpx
The Pros and Cons of Vertical Cannabis Grows

The Pros and Cons of Vertical Cannabis Grows

As people look for better usage of space for cannabis growing, vertical cannabis grows have come under the spotlight. To maximize yields, growers traditionally analyzed how many grams of marijuana were being produced per square foot. Taking your cannabis growing up, instead of out, seemed like the obvious solution.

How vertical cannabis grows work

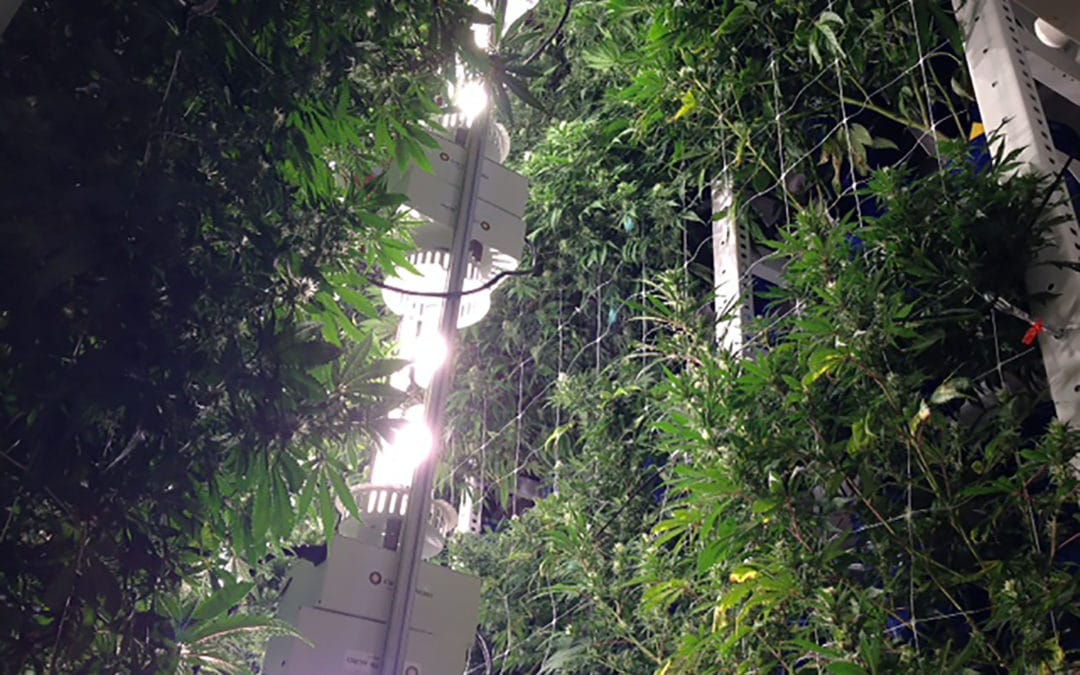
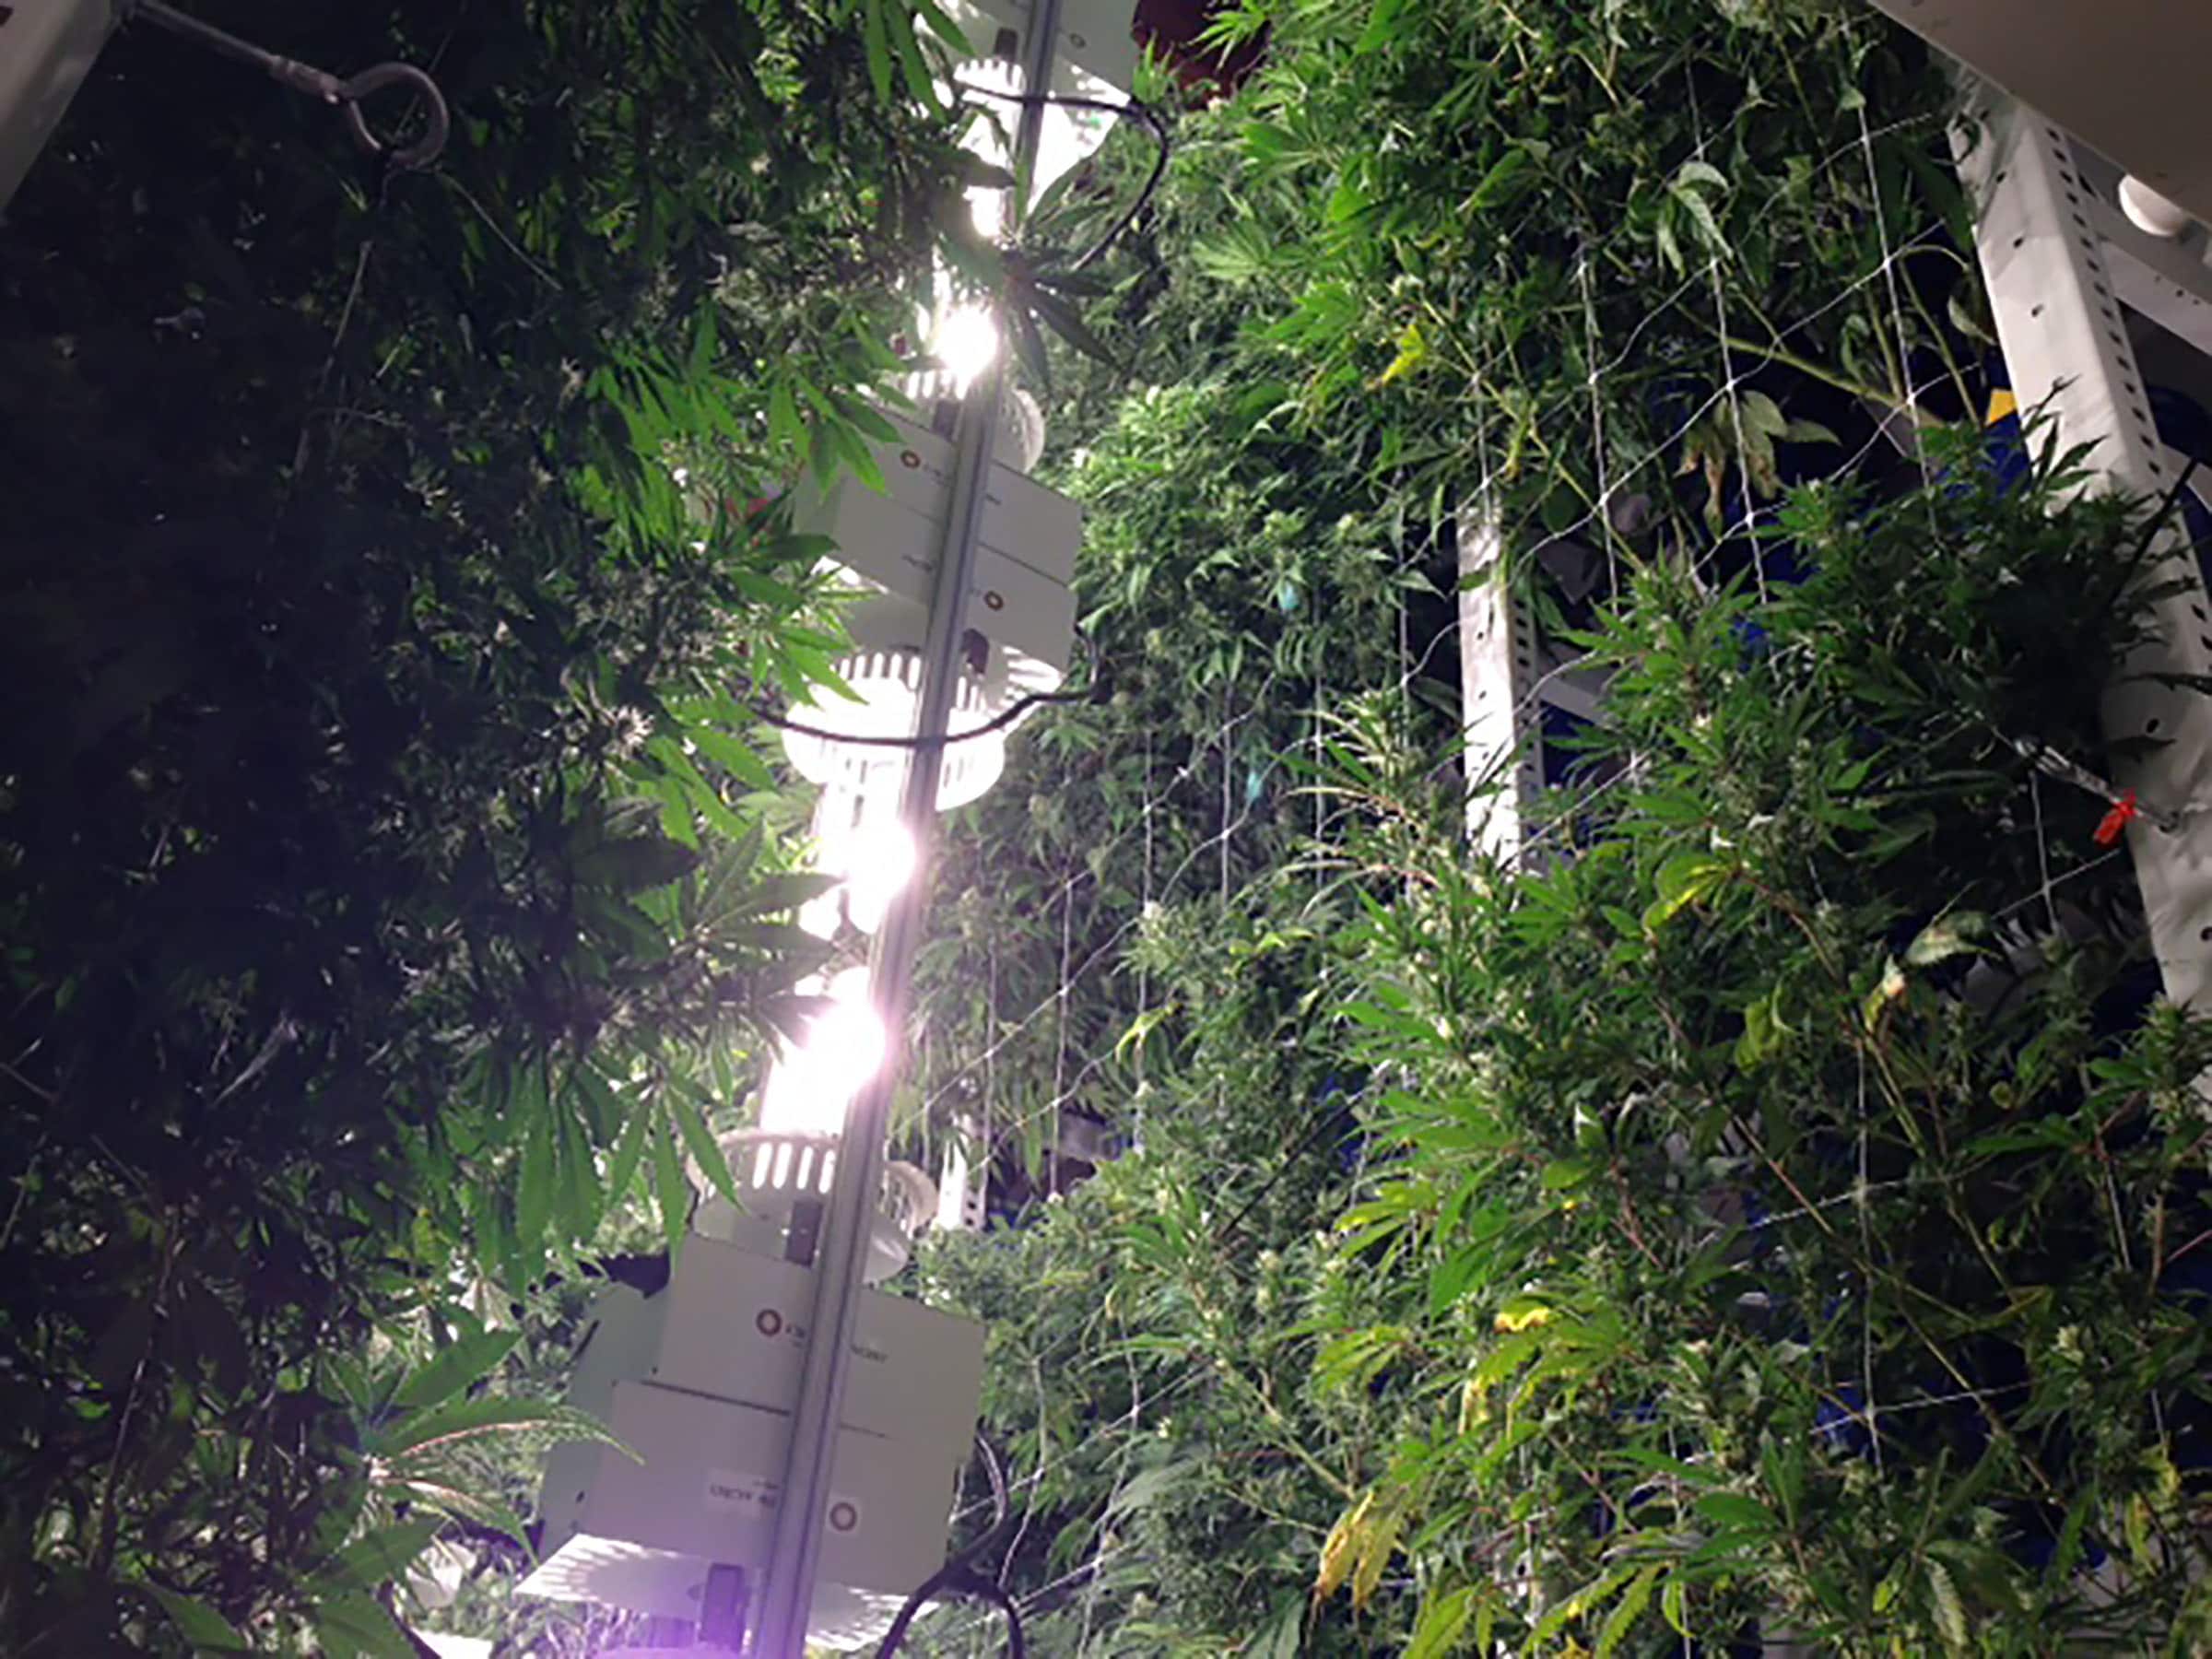
But how exactly do you grow cannabis vertically as opposed to the traditional flat grow system that we have all become accustomed to? There are several types of vertical cannabis grows, but they all revolve around similar principles. They all look to increase production while maximizing efficiency of space using a system of vertical lights and reflectors.

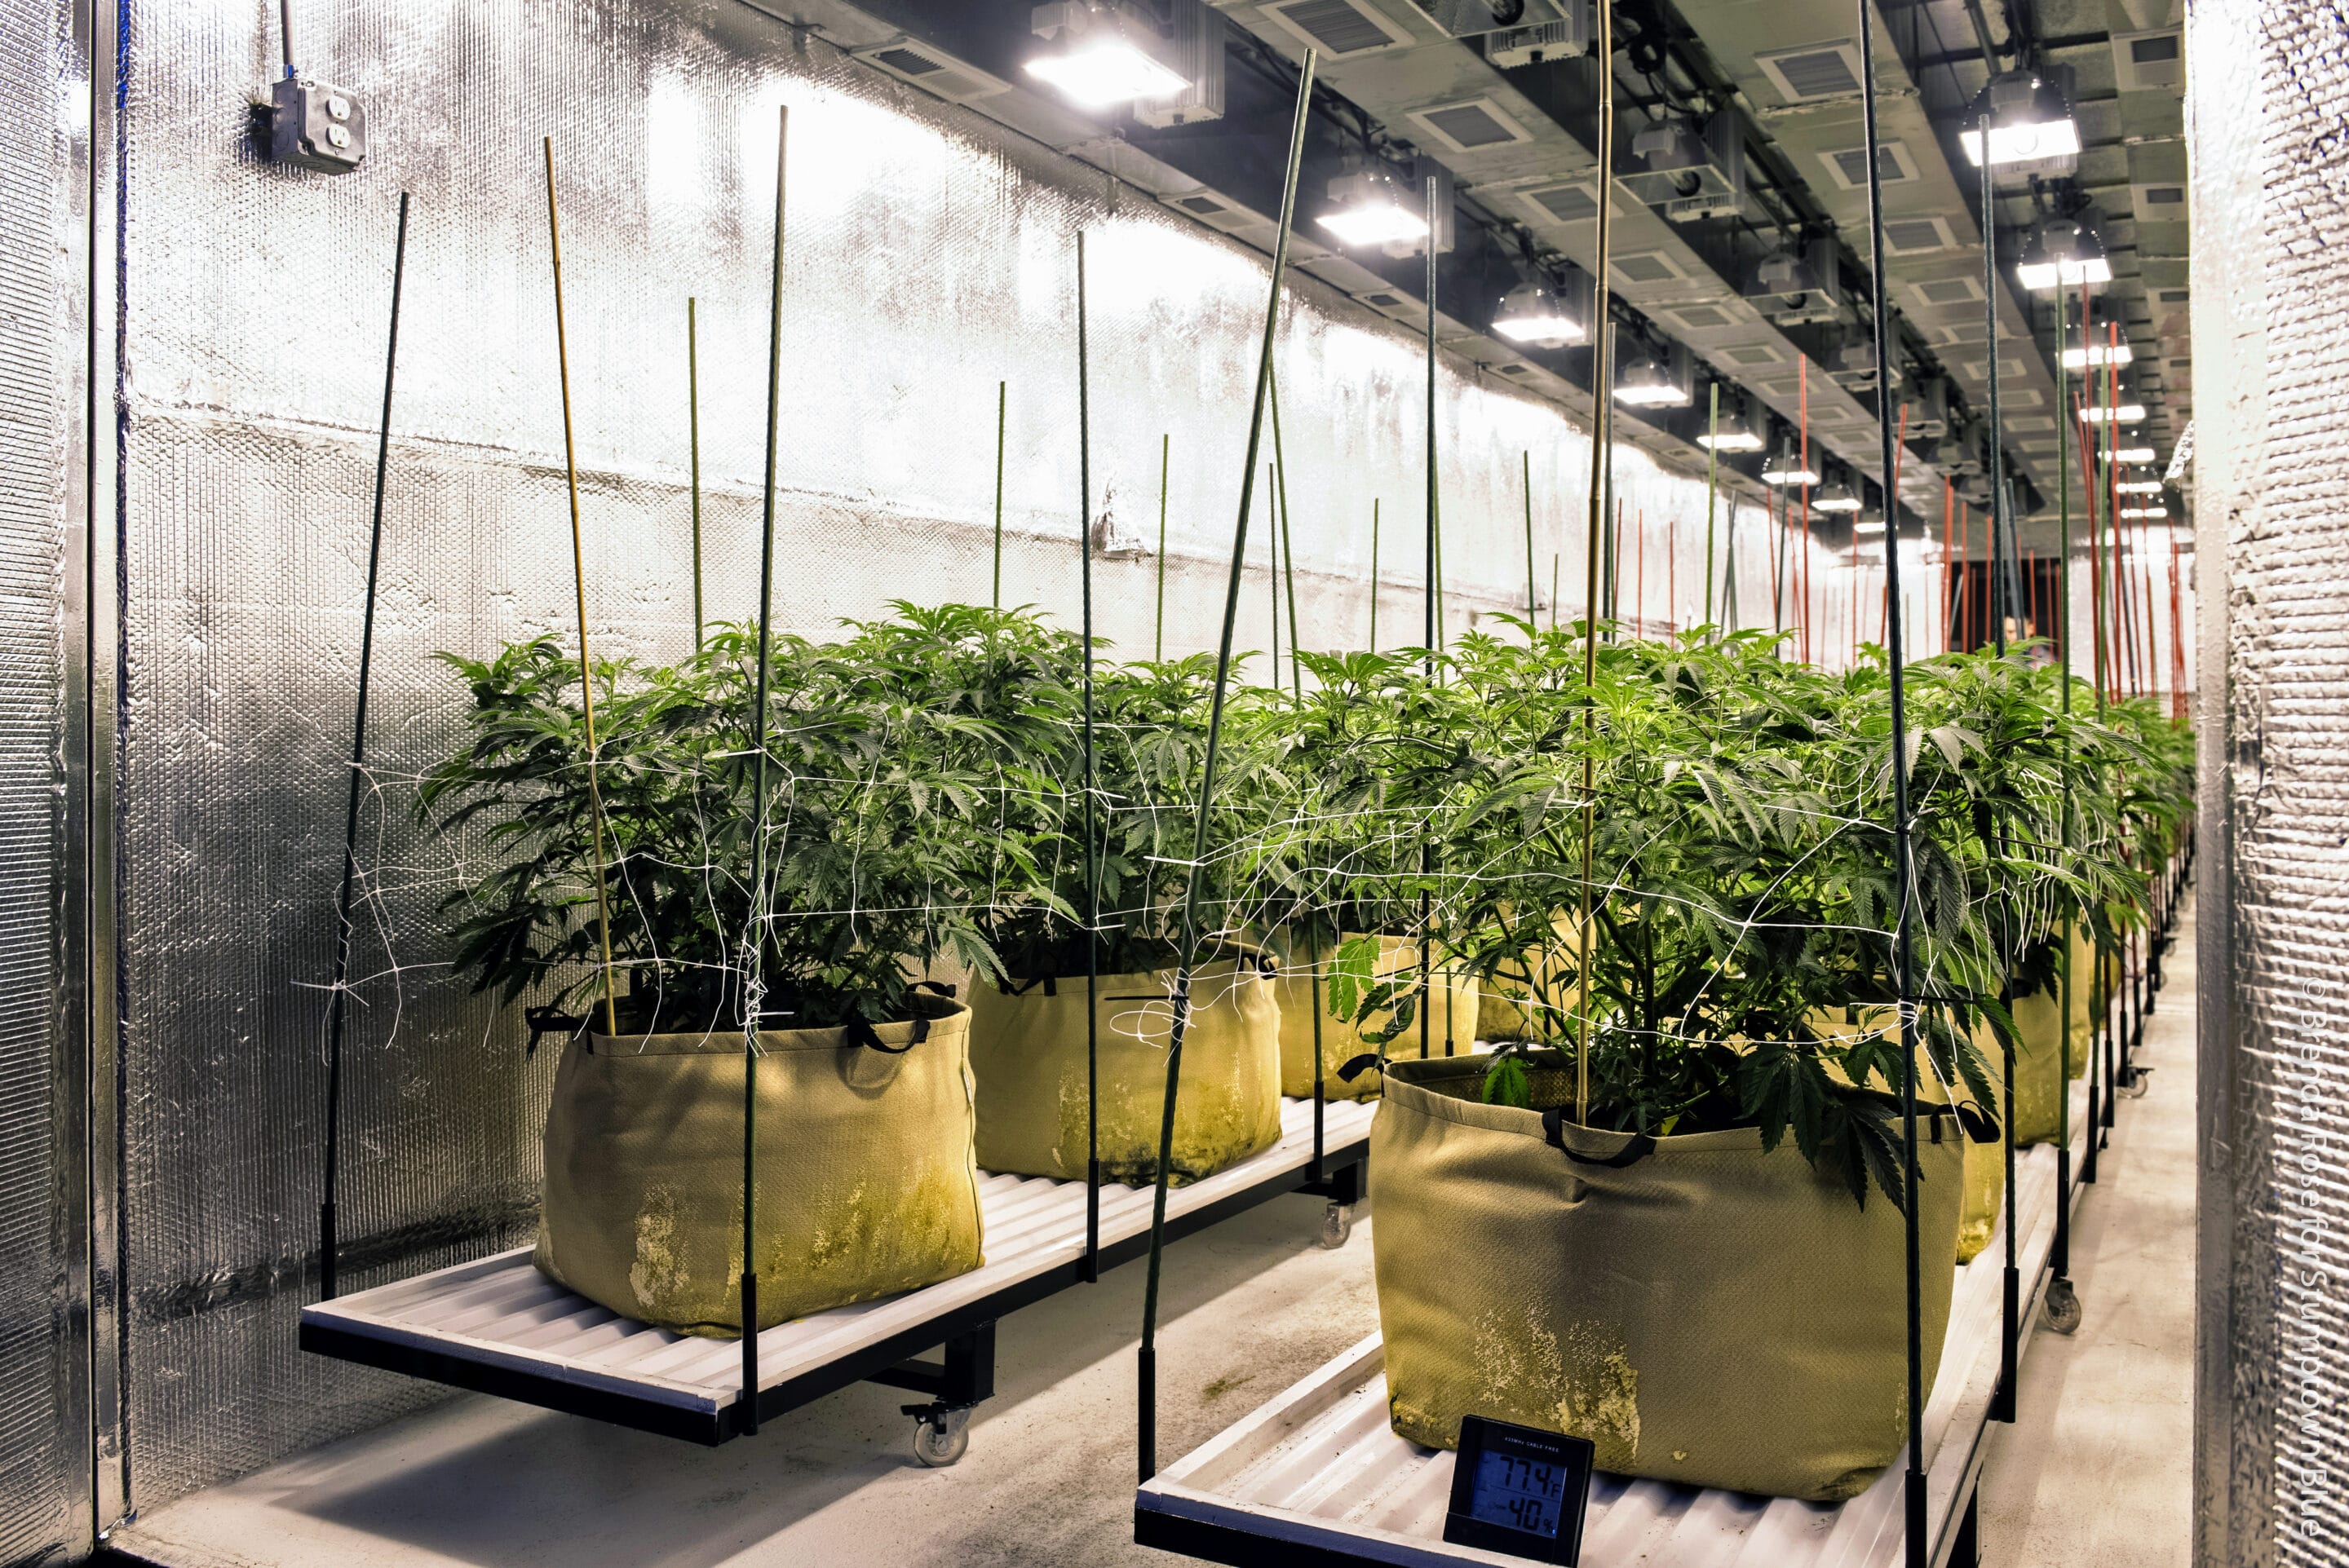
Vertical cannabis grows can employ either traditional soil systems or hydroponics, however, the set-up for both of these systems is quite different. The one thing they have in common is that the vertical cannabis plant arrangement is circular around central light source. If you are considering a vertical grow, it’s a great way to produce quality cannabis but there are a few pros and cons to consider before making the switch.

The pros of vertical cannabis grows

One of the biggest benefits to vertical cannabis growing is the increase in yields. Vertical growers swear up and down that when done right, increased light distribution through the use of reflectors leads to heavy weights. Some have even claimed yields as high as 2.5 grams per watt. Achieving these kinds of yields through the cannabis growing stages takes practice and a precision not easily achieved. One of the major downsides of vertical growing is the setup cost. Building your own circular shell complete with reflectors and shelving can save you some money, but all-in-one vertical grow systems will cost you a chunk o’ change.

Extend your cannabis growing cycle

A vertical cannabis grow will also let you squeeze in one extra cycle annually which means more product at the end of the year. Often clones are only allowed to remain in the vegetative state for a couple of days which greatly increases their exposure to the twelve-hour light cycle. One idea of vertical farming is grow more plants of a smaller size.

Starting the cannabis flowering stage early helps vertical growers meet this goal. Small plants, however, do not necessarily mean small buds. The down side to this is that smaller plants means you need a lot more of them. A lot more, which means you’re going to want to keep a mother on hand or have access one.

The cons of vertical cannabis grows

Another thing to keep in mind is that balancing temperatures and humidity with plants literally stacked on top of each other can be difficult. The more plant mass located in a confined space means temperatures and humidity will go up. That triggers the need for excellent cooling and ventilation. The never-ending battle between environment and your HVAC can be exacerbated by the tight quarters of a vertical grow.

So what’s the consensus?

The single biggest benefit of a vertical grow is space. Arranging plants vertically and allowing them to bathe in a central light source utilizes the cubic feet in the room that would otherwise go ignored. Growing up instead of out increases efficiency and will ultimately lead to an all-around boost in production.

The single biggest challenge to vertical growing isn’t the method or the technique or even the price. The biggest challenge to overcome in vertical growing is you. Overcoming what you have learned before and reshaping your perceptions of what it takes to grow quality cannabis will be the hardest step you take on your venture into vertical cultivation.

What do you think about vertical cannabis grows? Let us know on social media.

What to Know about Powdery Mildew Treatment for Marijuana Plants

What to Know about Powdery Mildew Treatment for Marijuana Plants

If you are growing marijuana in Colorado, then you should already know all about powdery mildew. Powdery mildew is a fungal disease that appears in the form of a white powdery spore. If left unchecked, it can devour you entire marijuana crop. But don’t despair, here are some methods for powdery mildew treatment.

Identifying powdery mildew

Inhaling powdery mildew isn’t safe and can lead to respiratory infection, bronchitis and long term problems like COPD. Fortunately, identifying and treating powdery mildew is easy. With a little bit of diligence, you’ll have no problem keeping your marijuana garden clean. Once you see powdery mildew, you will find it hard to forget. It is distinctly out of place on a rich green marijuana plant. Normally a frosty layer on your cannabis is good, but not this time. When you see trichrome on a bud, it is a crystal. It glistens like sugar. Powdery mildew on the other hand, looks like baking flour. In contrast with the cannabis, on which it now resides, it’s kind of hard to miss.

The problem with powdery mildew

If the infestation is really bad, the slightest touch will send a cloud of spores into the air. Our ventilation systems are designed to circulate the air, and replace the old with the new. Powdery mildew takes advantage of this and uses the constantly flowing currents of air to travel from plant to plant. Once it starts, you need to act fast in order to prevent it from spreading. Sometimes, powdery mildew will pop up in just one area of your grow. If it happens over and over, but stays in one spot, you might have a leaky A/C or water dripping in from somewhere else. Often times, powdery mildew is caused by contamination. Carrying spores into your garden by walking through the weeds outside is probably something that happens everyday. Powdery mildew loves moisture. High temperatures and just slightly above normal humidity and you have a hotbed  of potential fungal activity on your hands.

Powdery mildew treatment: plan A

Maintaining a proper environment is always fundamental, but it is especially vital in preventing powdery mildew from ruining your crop. Once you have your environment dialed in, there are a number of powdery mildew treatment solutions that will kill spores and prevent new ones from taking hold.  Manual removal is a great way to remove powdery mildew on the surface of the leaves. Removing the affected areas is the right place to start, but make sure to glove-up and wear a simple filter mask. After you’re done you’ll want to treat your crop with a foliar spray, unless you are absolutely confident you’ve eradicated the problem. An application of neem oil, commonly sold as azadirachtin, works as a broad spectrum fungicide. It is an ingredient in many ORMI certified products, so its use still qualifies as organic. Harvested from the seeds of a unique breed of evergreen tree, azadirachtin works by coating the spores and dehydrating them. It fundamentally ends the cycle of life and is a safe alternative to some of the more harsh commercial alternatives. A light spray once a week will kick your pm problem, usually in less than a month.

Powdery mildew treatment: plan B

Another powdery mildew treatment is a hydrogen dioxide solution that is commercially available under a variety of brands. Hydrogen Dioxide, or H2O2, sounds scarier than it is. Another certified organic product, hydrogen dioxide is a highly concentrated form of the stuff you used to pour on cuts as a kid. In a diluted solution, it’s safe to apply as much as you want right up until the day before harvest. In it’s concentrated form it can be harsh to the skin, so always use protection when crafting your mixture. The bottom line: just because you see some powdery mildew spring up in your cannabis garden, it’s not the end of the world. Just be proactive about your powdery mildew treatment and be mindful that it can be just as harmful to the grower as it can be to your marijuana harvest.

Have you experienced powdery mildew, what did you “dew” about it? Let us know on social media.

How to Get Rid of Root Aphids on Cannabis Plants

How to Get Rid of Root Aphids on Cannabis Plants

If you are growing cannabis in Colorado, then you know that there are really only a handful of pests that will make up the bulk of your infestation problems. Root aphids are one of those pests. The term “root aphid” actually refers to a variety of species of root dwelling aphids.

How root aphids terrorize cannabis plants

They burrow deep into the soil and then feed on the sugars and starches contained within the root structure. They form colonies and using their long, needle-like mouth to suck the life right out of your plants. Fortunately there are a number of safe and effective methods of ridding your garden of root aphids and ensure happy, healthy cannabis. Root aphids leech nutrients from the root system, preventing them from making their way to target areas within the plant. This will result a yellowing of the leaves, cankers,  and in extreme cases, death. The early stages of a root aphid infestation might appear to resemble a nutrient deficiency. In this case, the nutrient deficiency is a symptom, not the cause of the problem. No level of nutrient adjustment will compensate for the damage being done by those little cretans of cannabis destruction.

You know it’s bad when root aphids get wings…

If you start to see winged root aphids crawling around your soil, your problem is worse than you might think. This means that they have passed through a sufficient number of life cycles for the winged variety of aphid to have been born. That means that the nitrogen deficiency you’ve been trying to fix for the last month, isn’t just a nitrogen deficiency. And that powdery mildew that just started to form? Yeah that too is probably caused by the overall weakening of the cannabis plant, which was left vulnerable to mold and disease by the aphid infestation.

Root aphid cannabis treatment

Understanding how to get rid of root aphids is easier than you might think. In trying to maintain a more natural cannabis garden, stay away from harsh chemicals and pesticides. There are too many organic and biological controls available to even consider using any of the over-the-counter cure-all solutions. In the early stages of your grow cycle, predatory nematodes are a great way to not only fix a problem, but prevent one. Considered a biological method of pest control, nematodes are microscopic eel-like creature that resemble earthworms. They consume the root aphids, then they themselves die, leaving your root system as clean as can be. Soil and coco often come with dormant aphids, so treating your medium with nematodes in the beginning can ensure you won’t have a problem later.

Natural solutions to root aphid infestations

Neem oil or azadirachtin is an incredible natural solution for aphids. Made from an oil pressed from the fruits and seeds of the neem tree, azadirachtin suffocates the pest by clogging the breathing holes of the aphid. Drenching your root system with a treatment of azadirachtin will stop those pests in their tracks. There are a number of other natural or organic treatments that will help if your aphids make their way up the stalk and onto the leaves of your plants. A foliar treatment of an insecticidal soap or a natural pyrethrin are both very effective ways to stop crawling and winged aphids. Pyrethrin is an insect neurotoxin made from Chrysanthemum flowers. Whenever you can help it, stick with more natural pest control products, as they help foster a more natural ecosystem.

When it comes to root aphids, prevention is key

The key to maintaining a healthy cannabis garden is preventing problems before they start. Treat your soil with nematodes to prevent aphids from springing up and use an azadirachtin drench if the problem resurfaces. Staying one step ahead of your pests is the key to maintaining a vibrant and fruitful garden.

Have you experienced the plight of root aphids? Let us know about your experience on social media.

Growing Weed Indoors: Stop Dreaming Start Planting

Growing Weed Indoors: Stop Dreaming Start Planting

For centuries, philosophers have pondered whether art mimics nature or nature mimics art. I know what you’re thinking. How does this relate to growing weed? When it comes to the science of growing weed indoors, the entire purpose is to mimic cycles typically found only in the natural world.

The basic theory

Recreating what nature would normally provide is at the heart of growing weed indoors. Sunlight, nutrients and a cozy environment is all it really takes to produce top shelf bud. When you start looking into grow lights, and timers and all the necessities involved in cultivation, it can become a little overwhelming. It’s not easy recreating the cycle of life in your basement. However, to achieve success growing weed at home, all you have to do is stick to the basics.

Maintain a healthy environment

The single biggest factor in growing weed indoors is maintaining your environment. Just set your A/C and your humidity levels and you’re good to go right? It should be so simple. In a room full of scorching hot lights, keeping your temperatures and humidity in the comfort zone is easier said than done. When putting your grow room together, you have to plan ahead. Know which lights will work for the space you have. Know how much cooling you will need to maintain correct temperatures. One of the biggest factors of learning how to grow weed is in maintaining a healthy environment and compensating for room deficiencies like poor insulation or a drafty door. Understanding the relationship between the plant, its environment and your equipment is half the battle when it comes to growing weed indoors.

Feed your plants what they need

What you feed your cannabis plants will also heavily impact your final results. While we have general standards for pH and nutrient levels, every strain is different and each has unique feeding needs. Nitrogen, potassium, calcium and the other primary nutrients are all required but are sometimes hard to balance. Coming to understand the needs of your garden and having the ability to recognize the signs of nutrient deficiency will help you stay one step ahead of the game. Maintaining your environment doesn’t only refer to the air. Keeping nutrient levels and pH in the soil at appropriate levels is as important as keeping your humidity down. All of these factors contribute to an artificial ecosystem, that much like the real thing, must maintain a delicate balance in order to foster life.

Don’t over-complicate things

Understanding the basics of successfully growing weed indoors is all about maintaining environment and ensuring proper feeding. There are no shortcuts, no easy ways and there certainly are no magic beans. When you plant a cannabis seed, it wants to grow. The instinct to survive is not exclusive to the animal kingdom. Your job is simply to nurture it along, provide the best care that you can and let nature do the rest. Cultivating cannabis is a fun and rewarding experience, so don’t go and ruin it by over-complicating it. If you want to grow the best bud on the block, mastering the basics is the best way to get you there.

What do you think are the basics of growing weed indoors? Let us know on social media.

To Start Growing Weed, Get Your Nutrients Right

To Start Growing Weed, Get Your Nutrients Right

If you’re trying to begin growing weed, here are a few facts I learned in the school of hard knocks. Someone new to growing weed can sometimes be overwhelmed by all the options they have for plant nutrients and additives. In the end you will find they are mostly all the same.

Stick with nutrients that work 

When you’re growing weed and you use bottled nutrients, find a line that is reasonably priced and stick with it. Switching to the newest, fanciest brand will not increase your yields or quality. On the other hand, dialing in one chosen nutrient line will increase your yield.  Of course, when you begin growing weed, knowing what nutrient line works with your weed strain choice is also crucial.  Follow the label on the nutrient bottle at first and experiment with your weed strain to see if it does better with higher or lower nutrient levels. Remember, growing weed is a REAL science, which inevitably involves some trial and error (hopefully less of the latter).

Develop a baseline

Once you feel you have reached the sweet spot and developed a baseline for plant and bud growth over a few grows, start looking for additives to start growing weed faster. There are a lot out there. Just be weary of the expensive ones in fancy bottles. Test them out and see if you notice and improvement in growth or quality of the weed you’re growing.

In the end, if you are growing weed for personal use, you are probably more concerned with high quality than high yield. You will find that the full potential of the weed strains’ flavor and aroma will come from using less nutrient and additives, not more. Over fertilization masks the flavor of your cannabis when burned.  That is why when you’re growing weed, you shouldn’t feed the plants in the last two weeks of their cycle. This is recommended by pretty much everyone (who knows what they’re talking about, bro science beware!)

Growing weed quality vs quantity

Over feeding your marijuana plants can slow vegetative growth or inhibit bud development, but either way, it will leave your wallet lighter than it should be (so can marrying the wrong person). The good news? If you can grow the finest burning and best tasting cannabis of all you friends, you might just find you get some of the best yields too. Consider it a win-win.